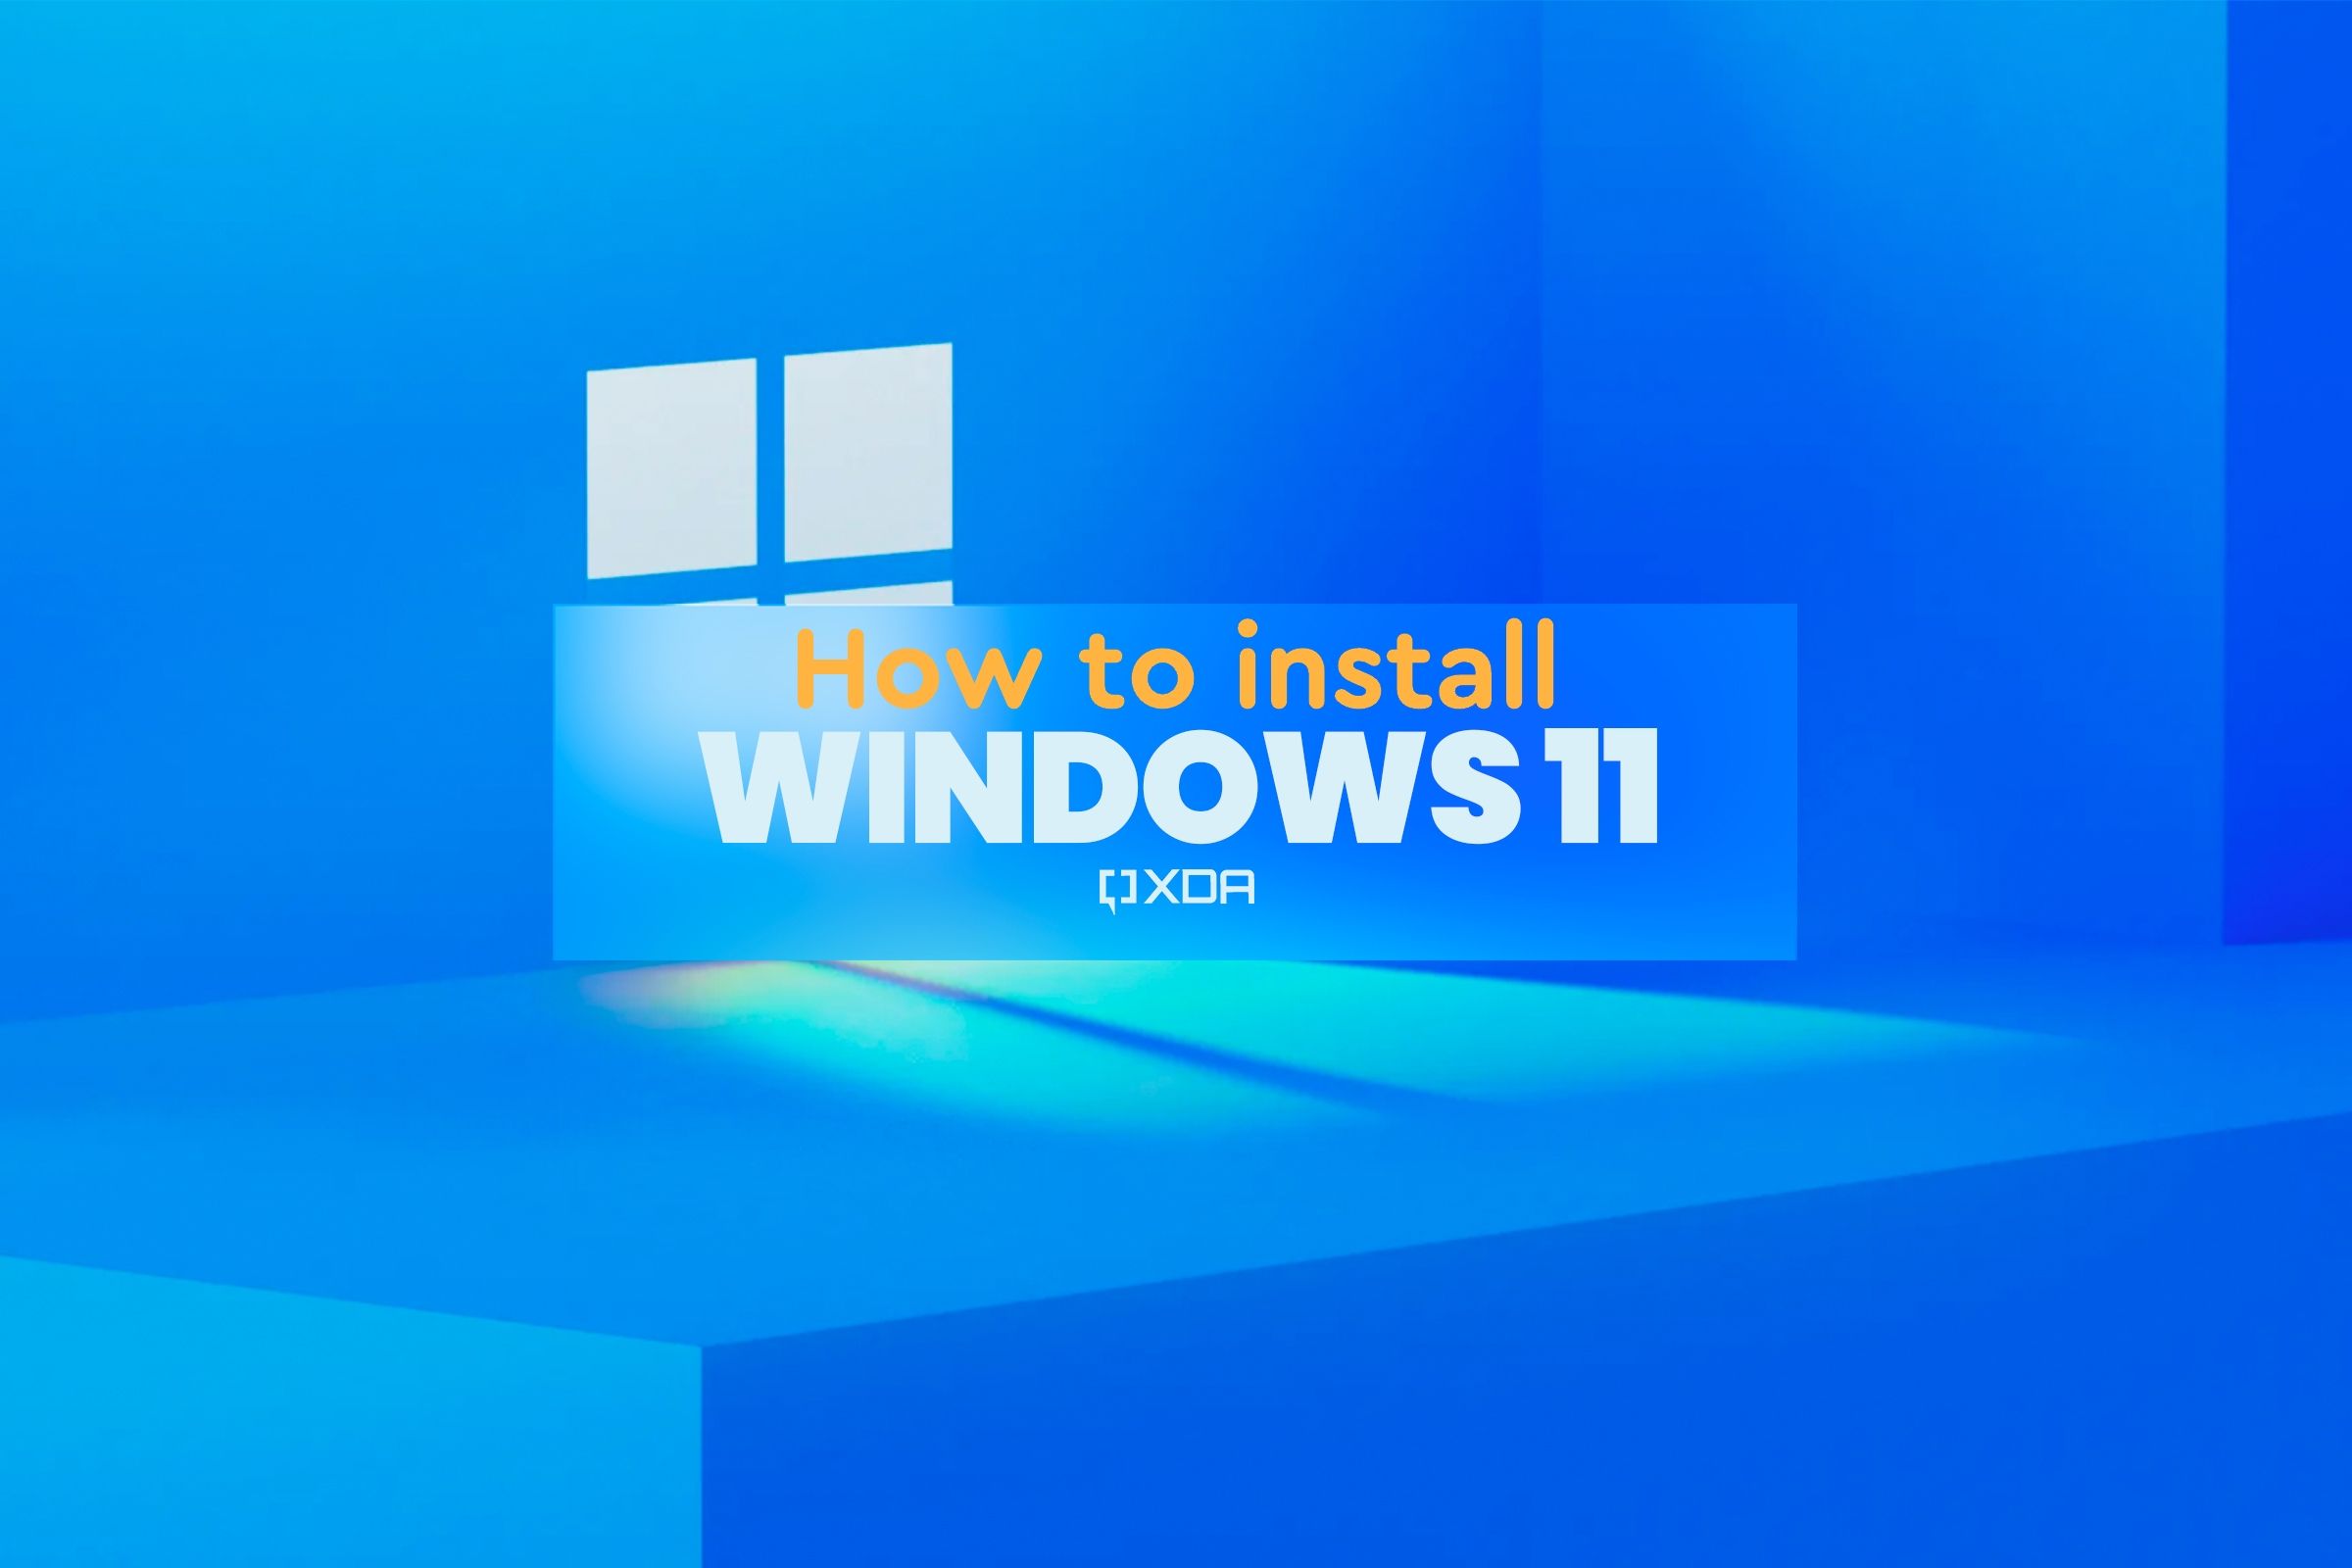
How to Set Up Windows 11 on Your New Computer: A Complete Guide
How to Set Up Windows 11 on Your New Computer: A Complete Guide
Blog Article
Adding Windows 11 from the USB push is just a convenient and common process, but it will often provide challenges if not done correctly. That manual may go you through the process step-by-step, ensuring an easy how to install windows 11 from usb.
Step 1: Check always Process Requirements
Before commencing the installment, validate that the pc meets the minimum needs for Windows 11. Some crucial specifications contain:
A suitable 64-bit model with 1 GHz or quicker and at least two cores.
4 GB of RAM or more.
64 GB or maybe more of storage.
TPM (Trusted Software Module) variation 2.0 enabled.
Secure Boot support.
Also, assure you back up all your important data, because the installment process can structure most of your drive.
Stage 2: Get Windows 11 ISO Record
To create a bootable USB push, first obtain the state Windows 11 ISO file. This can be carried out from the Microsoft website. Assure you download the right variation to match your system architecture (e.g., 64-bit). Confirm the integrity of your ISO record to prevent problems during installation by examining its hash value.
Step 3: Produce a Bootable USB Travel
You may need a USB travel with at least 8 GB of storage because of this step. Formatting the USB push assures number recurring files hinder the formation process. Use a trusted instrument, such as for example Rufus, to make a bootable USB. Select your downloaded ISO file and manage the correct adjustments:
Partition Scheme: GPT for UEFI techniques or MBR for history BIOS.
Record Program: NTFS for files bigger than 4 GB or FAT32 for broader compatibility.
Click "Start" and let the procedure to perform without interruption.
Stage 4: Manage BIOS Controls
Entering your computer's BIOS is important for initiating the installation. System your personal computer and push the specified critical (commonly F2, F10, or DEL) at boot. After within the BIOS:
Enable UEFI mode.
Set the start goal, ensuring the USB travel is first on the list.
Examine Protected Boot is allowed and TPM 2.0 is active.
Save your valuable controls and reboot the system.
Step 5: Install Windows 11
As soon as your computer restarts, it will start from the USB drive. Follow the on-screen requests to:
Choose language, time, and keyboard preferences.
Click "Deploy Now."
Enter the item key or select "I do not have a product key."
Pick the proper partition to install Windows 11. If errors arise, eliminate the partition, produce a new one, and proceed.
Permit the installment to accomplish, during which one's body may possibly reboot several times.
By following this guide, you can confidently install Windows 11 from the USB travel without experiencing errors. Enjoy the improved experience of Microsoft's newest operating-system! Report this page